
What Did A South Tampa Vanity Teach Us About Cabinet Painting In Tampa, FL?
The situations described here are composites drawn from the types of jobs and decisions we encounter regularly. Names and specific figures are illustrative.
The first call about cabinet painting in Tampa, FL on that South Tampa vanity came in late August, which is the worst time of year to do this kind of work in Tampa Bay and also the time of year homeowners decide they cannot look at the old finish for another month. The bathroom in question was off the primary suite of a 1990s two-story near Bayshore. The cabinets were solid red oak, in good structural shape, and the homeowner did not want to tear anything out. What she wanted, in her words, was for the room to stop feeling old. That is the situation almost every cabinet job starts with: a perfectly fine box, a dated finish, and a homeowner who has been quietly priced out of a full remodel.
We walked the bathroom, opened a door, and tapped the inside of a drawer to listen for hollow MDF or veneer creep. The boxes were honest wood. The doors had the open-grain oak look that was fashionable when the house was built and is no longer doing anything for the room. The finish was a yellowed lacquer with two visible water rings near the faucet. None of that is unusual, and none of it is a reason to walk away. It is a reason to slow down and explain how the job is actually going to go.
Where the conversation usually starts
Most homeowners ask the same first question: how long will the bathroom be out of service. The honest answer in Tampa Bay is longer than a paint label suggests. A can that says one hour to recoat is reading the back of an air-conditioned warehouse, not a bathroom off a primary suite in August with the AC fighting an open patio door. We tell people to plan on the vanity being unusable for two to three days of active work and another four to five days before we treat the finish like it can take normal cleaning.
The second question is almost always about color. The third, eventually, is whether painting the boxes will look as good as buying new. The straight answer is that a painted oak cabinet, with the grain filled and a real cabinet-grade topcoat, can look genuinely tight. A painted oak cabinet where someone skipped grain filler and rolled wall paint over the doors looks like a painted oak cabinet from across the room, and worse up close. The gap between those two outcomes is not talent. It is prep, product, and how the room is managed during cure.
What the substrate told us before we picked up a sander
Before any paint conversation, we looked at the cabinets the way a finisher does, not the way a homeowner does. The doors came off and went out to a conditioned space we keep at around fifty-five percent humidity. The hinges and screws went in labeled bags taped to the back of each door. The boxes stayed in the bathroom because the plumbing did not need to move and the homeowner still wanted to use the rest of the room.
The water rings near the faucet were the first decision point. They had soaked through the lacquer and into the top edge of the face frame. We probed with a fingernail. The wood was still solid, but the finish in that two-inch zone was compromised. The options were to sand all the way back to bare wood there and feather it out, or to use a shellac-based primer that can lock in damaged areas. We went with the shellac. It seals stains, blocks tannin bleed from oak, and gives the topcoat something honest to grab.
The doors were the other call. Oak grain wants to telegraph through paint. You can either embrace that and let the grain read through the finish, or you can fill it with a thin skim of high-build primer or a dedicated grain filler and end up with a smooth panel that reads as a modern flat door. The homeowner wanted the smooth look. That added a full day to the schedule. We told her that up front. She agreed. We never start a job like this without that conversation, because the smooth-door homeowner who finds out about the extra day on day three of the job is no longer happy with the work, even if the work is good.
The part where Tampa humidity changes the plan
A bathroom in Tampa in August is not the same painting environment as a bathroom in Tampa in February. We track relative humidity in the room with a small digital meter and we do not open a primer can if the number is over sixty percent. That sounds rigid until you watch a fresh coat of waterborne alkyd refuse to flash off in a bathroom at seventy-five percent humidity. It stays tacky, it picks up dust from the air, and it bonds soft. You end up with a finish that fingerprints when the homeowner closes a drawer two weeks later.
For this job, we ran the house AC harder than usual, closed the bathroom door, and parked a small dehumidifier on a towel inside the room. We watched the meter for half an hour before priming. The room came down into the high forties. That is the window we want. We also moved the bulk of the door work off-site, because controlling a single bathroom is hard, and controlling a finishing area is straightforward.
The choice between waterborne alkyd and acrylic urethane comes up at this stage. Waterborne alkyd lays flatter and feels closer to the old oil finishes homeowners remember from their parents’ kitchens. Acrylic urethane is tougher in the first week of cure and forgives a slightly wetter room. For this vanity, with the primary bath sharing a wall with a steam shower, we used a cabinet-grade acrylic urethane in a satin. It would not look as buttery as the alkyd, but it would hold up the first time someone leaned a wet towel against the door.
Where DIY stops being a good trade
Homeowners ask, often near the end of the first walkthrough, whether this is a job they could do themselves. The answer depends on the door count, the substrate, and the room. A small powder-room vanity with two doors and two drawers, sitting in a dry second bathroom that the family can stay out of for a week, is a reasonable DIY project for someone who is patient and methodical. The list of tools we recommend for a DIY painting project covers most of the kit, and the same logic applies to cabinets, with one addition: a way to control humidity during cure.
What stops being a good DIY trade is a primary bathroom that the household uses every day, a vanity with six or more doors, any thermofoil, any sign of swelling from past leaks, or oak that the homeowner wants to read as smooth and flat. At that point the math on weekends, cure windows, and bathroom downtime stops working out, and the finish almost always shows it. We have repainted enough rushed DIY cabinet jobs to know what the failure modes look like. The most common one is a topcoat that never fully cured because the homeowner reinstalled doors after twelve hours and the felt bumpers stuck to the paint.
The questions that come up at the second visit
By the second walkthrough, after the homeowner has had a few days to think, the questions get more specific. People want to know how long the finish will last, whether they can use a normal bathroom cleaner on it, and what happens if a chip shows up next year. We tell them, plainly, that a properly prepped and cured cabinet finish in a Tampa bathroom should give five to seven years of honest service if the room is ventilated during showers. Past that, you are usually looking at a refresh, not a strip-and-redo. Chips touch up well in the first two years because the paint batch and the color are still close in tone. After that, light fading from the bathroom window starts to show on a touch-up.
The cleaner question matters more than people think. Most off-the-shelf bathroom sprays are not friendly to a cured cabinet finish. We tell homeowners to use a mild dish soap and water for the first month and to never let an ammonia-based cleaner sit on the door. We also tell them to wipe water off the doors near the sink, because standing droplets are how mildew gets a foothold even on a mildew-resistant paint.
One more question almost always comes up: is it worth painting the cabinets if the floor and countertop are also dated. We give an honest answer. If the floor is going to be replaced in the next six months, paint the cabinets after the floor goes in, not before. Floor work scuffs cabinet bases. If the countertop is staying, paint first and template the new top after the finish has cured. If everything is going at once, we sequence in this order: demo, floor, paint, top, plumbing trim. That sequence is the same one we walk through in our guide to durable bathroom flooring materials, which a lot of homeowners read before they commit to either piece.
What the South Tampa vanity looked like at the end
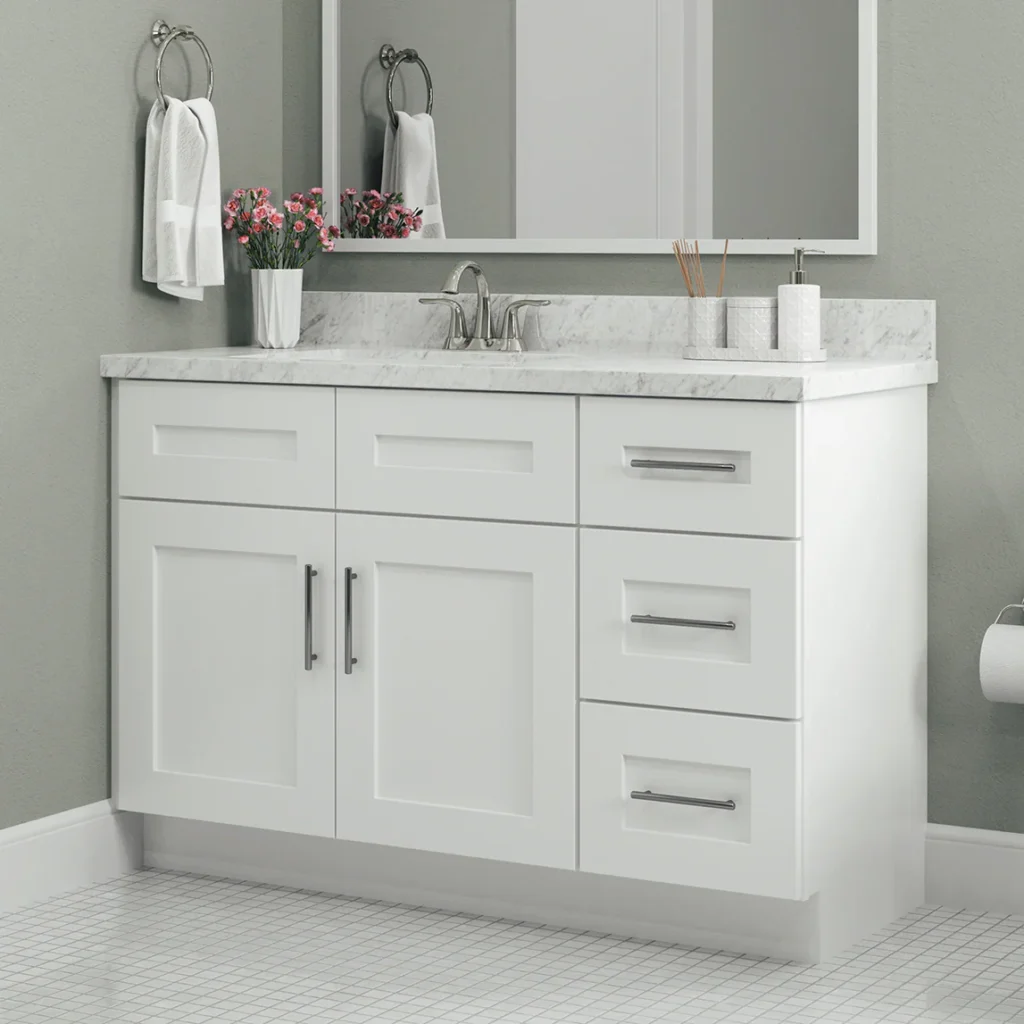
The doors came back in on day five. Hinges were soft-close replacements we had picked up at the start, because old hinges on freshly painted doors are how you put a witness mark on a satin finish in the first week. We let the doors hang without bumpers for forty-eight hours, then added felt pads in fresh spots. The homeowner sent a photo of the room a week later. The grain had filled smooth. The water rings were gone under the primer. The satin had enough sheen to throw a little light back at the window without looking plasticky.
What she said about it was the part that stayed with us. She said the room finally stopped feeling like a 1990s bathroom. She did not say it looked new. She said it looked like hers. That is usually the goal with this kind of work. It is not to make a bathroom look like a magazine. It is to make the room stop nagging the homeowner every time they walk in.
What this kind of job is really about
The work that goes into cabinet painting in Tampa, FL is not really about paint. It is about reading the substrate, respecting the climate, and being honest about how long the room will be out of service. The homeowners who end up happy are the ones who let the prep take the time it takes and who do not open the bathroom door to take a shower during cure. The ones who end up disappointed are almost always the ones who got talked into a one-day finish by someone who did not want to explain humidity.
If you have a vanity that is structurally fine but visually tired, painting is usually the right move, as long as the person doing the work tells you the truth about timing and product. You can see the kind of finished work we have done on the past projects page, and if you want to talk through a specific bathroom before deciding, you can reach out here.