
Can Vinyl Plank Flooring in Tampa, FL Go Right Over Old Terracotta Tile?
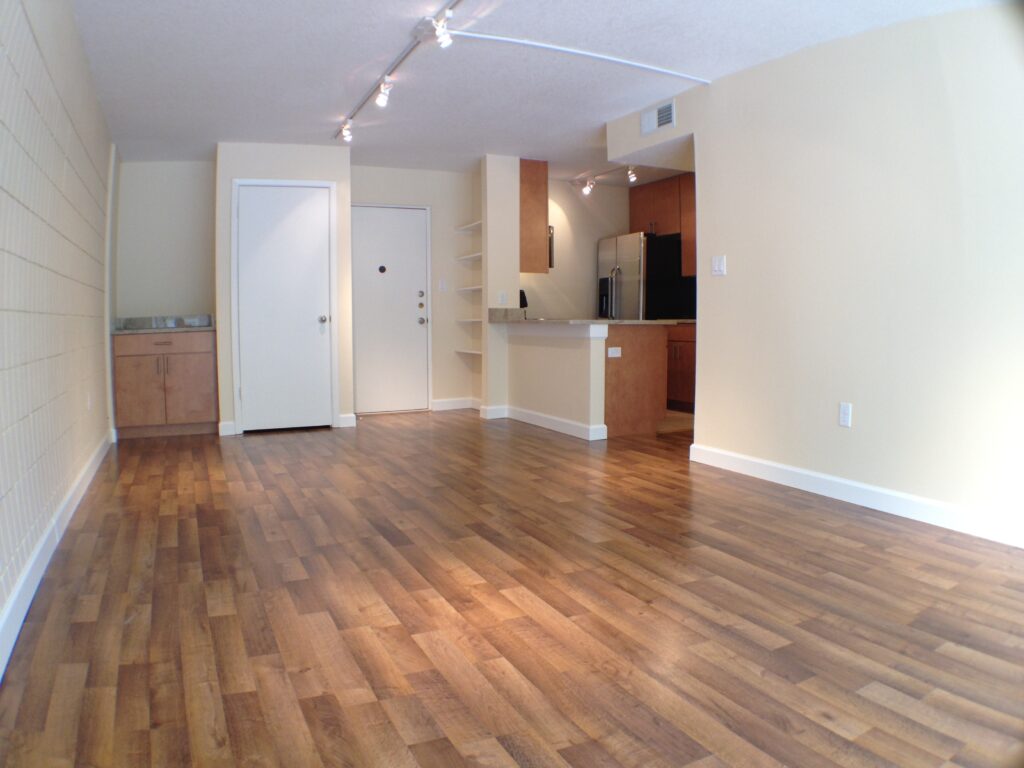
The situations described here are composites drawn from the types of jobs and decisions we encounter regularly. Names and specific figures are illustrative.
The house was a 1987 concrete block home in Citrus Park with about 850 square feet of 12-inch terracotta tile running through the kitchen, dining area and family room. Two tiles were cracked through, several near the sliding glass door sounded hollow, and the grout joints were half an inch wide. The owners wanted vinyl plank flooring in Tampa, FL laid straight over the tile, because they had heard that was possible and wanted to avoid the mess of demolition. The fact that decided the job came from the plank manufacturer’s own installation guide: the floor underneath has to be flat within 3/16 of an inch over 10 feet, or 1/8 of an inch over 6 feet.[1]
Floating plank over tile is a real option. Plenty of Tampa homes have flat, sound ceramic tile that makes a decent base. The question on any given house is whether this particular tile is that kind of tile, and the only way to answer it is to put a straightedge on the floor before anyone picks a plank color.
What the old tile showed under a straightedge
Terracotta is not like the flat glazed ceramic in most newer homes. The tiles in this house had soft, rounded edges, a slightly wavy face, and wide grout joints that sat about 1/8 of an inch below the tile surface. In the family room the floor was close to flat. Near the slider and along the kitchen run, a 10-foot straightedge rocked over high spots and showed gaps of up to 5/16 of an inch. Eleven tiles sounded hollow when tapped with a screwdriver handle, and two had cracks running corner to corner.
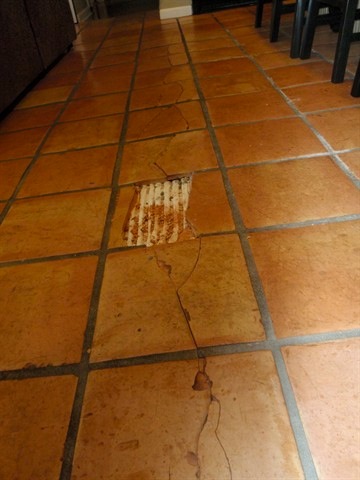
The installation guide is specific about tile. It says to tap for loose tiles and re-adhere them, and to fill the grout lines with a cementitious, latex-fortified leveling compound before the planks go down.[1] On flat ceramic with narrow joints, that is a half-day of prep. On this floor it meant filling several hundred linear feet of half-inch joints, pulling and re-setting eleven tiles, and then skimming the low areas near the slider until the dips came within tolerance. It also meant the new floor would sit on top of everything that was already there.
How the two options lined up
The tile and its mortar measured about 5/8 of an inch thick. The plank they had picked was about a quarter inch. Floating over the tile would raise the finished floor by that quarter inch again, on top of a floor that was already higher than when the house was built. Three spots made that matter: the front door threshold, the track of the sliding glass door, and the dishwasher, which already sat tight under the counter. The guide also calls for undercutting door jambs and leaving a 1/4-inch expansion gap at the walls for an area this size,[1] which was the same either way.
| This job | Float plank over the tile | Remove tile, level slab, then plank |
|---|---|---|
| Prep work | Re-set 11 hollow tiles, fill all joints, skim low areas | Break out tile, grind mortar ridges, pour leveler where needed |
| Finished floor height | About 7/8 inch above slab | About 1/4 inch above slab |
| Doors and dishwasher | Trim interior doors, reducer at slider, dishwasher likely trapped | No changes needed |
| Working days | 4 | 6 |
| Added cost over plank and install | About $1,900 | About $4,600 |
On paper, floating over the tile was $2,700 cheaper and two days shorter. What the table does not show is that the cheaper option left them with a floor built on eleven tiles that had already let go once, and a dishwasher that would have to be pulled out from under the counter the next time it needed service. That second point is the kind of thing that does not show up until a plumber is standing in the kitchen two years later.
“Every flooring quote we write includes a check of what is underneath. The plank manufacturer’s instructions say the floor has to be flat within 3/16 of an inch over 10 feet, so that check decides whether old tile can stay.[1]“
Logan Steege, Owner, Jack O’ Trades
The owners went with removal. They were not happy about the extra money, and said so. The deciding factor for them was the dishwasher, which was only eight years old and which they did not want to have to replace or rework just to get it out.
Why the first question was about asbestos
Once removal was on the table, one of the owners asked whether pulling up old flooring could release asbestos. It is a fair question in any older house. The EPA says asbestos was used in building materials including floor tiles, and it names vinyl floor tiles, the backing on vinyl sheet flooring, and adhesives among the places it may be found.[2] It also suggests having a home inspected by a trained and accredited asbestos professional before a remodel that will disturb building materials, and it advises against sanding or trying to level asbestos flooring.[3]
So before anything else came up, the crew lifted one of the cracked tiles and looked at what was under it. It was gray mortar bonded straight to the concrete slab, with no older vinyl layer and no black adhesive. The owners had the option of a professional sample before demolition. With only mortar and concrete under the tile, they chose to go ahead. If there had been a layer of old vinyl or dark glue under it, the plan would have stopped there for testing by an accredited professional, which is what the EPA describes,[3] and the float-over option would have looked a lot better.
What taking the tile out actually involved
Tile removal is loud and dusty, and the dust is the part people underestimate. Concrete and mortar contain crystalline silica, and OSHA notes that the fine respirable particles are created when those materials are cut, ground or drilled. Breathing them raises the risk of silicosis, lung cancer and other serious disease.[4] OSHA also points out that applying water at the blade when cutting concrete, block or stone substantially reduces the dust.[5] On this job the kitchen and family room were sealed off with plastic, the tile was broken out in sections rather than ground off, and the mortar ridges left behind were ground with a shrouded grinder on a vacuum.
Timing helped. The National Weather Service office for Tampa Bay puts the end of the local rainy season around October 10,[6] and this job ran in late October. With the afternoon storms mostly done, the crew could keep the slider open to wheel debris out to the trailer without tracking wet sand back in, and the garage stayed dry for staging plank boxes. The planks still have to be installed in a climate-controlled space between 55 and 85 degrees,[1] so the air conditioning stayed on once the doors closed.
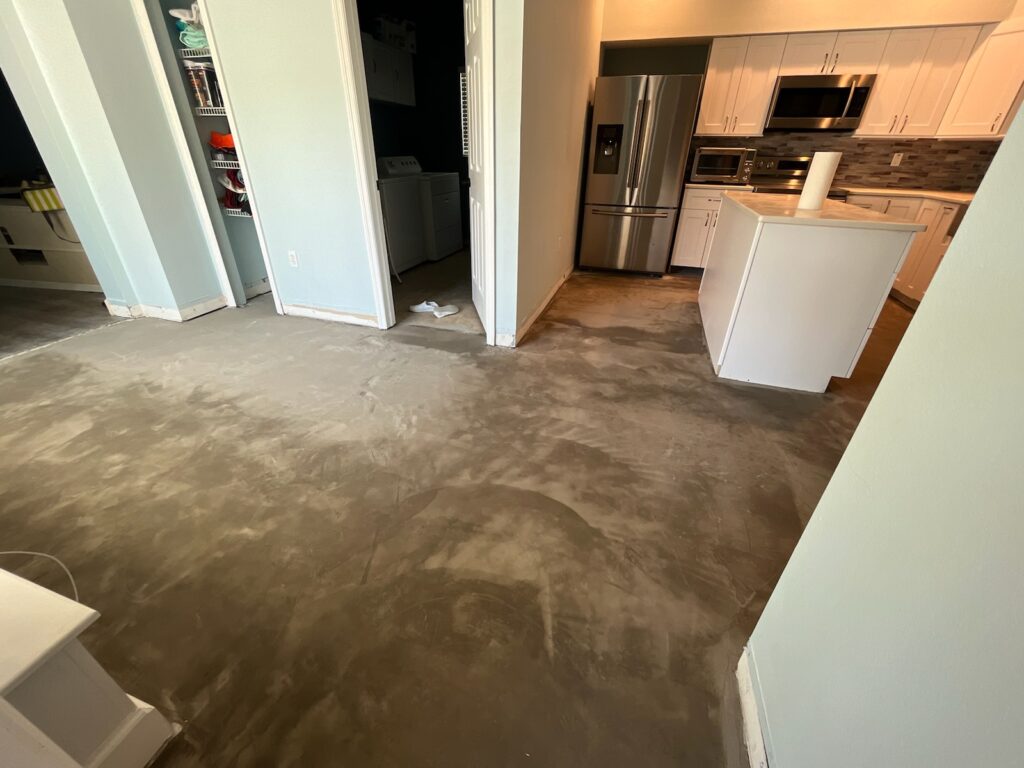
With the tile gone, the slab itself was in better shape than the floor on top of it. There was one old shrinkage crack in the dining area and a shallow low spot in front of the slider, which was likely why the tile there had come loose. Both were patched and leveled. The guide also sets moisture limits for concrete before plank goes down, including a maximum in-place relative humidity reading of 90 percent,[1] so the slab was tested after it dried. It came in under the limit.
How the six days went
| Day | Work |
|---|---|
| 1 | Move furniture, pull baseboards, seal off rooms, check under a cracked tile |
| 2 | Break out tile and haul debris |
| 3 | Grind mortar ridges, patch crack, pour leveler at the slider |
| 4 | Moisture test, straightedge check, start plank in the family room |
| 5 | Plank through dining and kitchen, undercut jambs |
| 6 | New baseboards, threshold at the front door, final walk-through |
The baseboards were the one surprise. The old ones had been set on top of the tile, so once the tile was gone there was a gap at the bottom of every wall. Re-using them would have meant a strip of shoe molding everywhere. The owners chose new baseboards instead, which added about $650 and is part of the removal number in the table above.
What people usually ask at this point
The first question is almost always whether plank over tile will sound hollow or feel soft. On a floor that has been prepped to the manufacturer’s flatness spec with the joints filled, it generally feels like any other floating floor. The hollow feel people describe usually comes from dips that were never filled, where the plank flexes a little each time someone steps on it.
The second is whether the old tile can stay in some rooms and come out in others. It can, but the two areas end up at different heights, and every doorway between them needs a transition piece. On a small house with an open plan, that usually costs more in trim and looks worse than doing it one way throughout.
The third is whether rigid plank can simply bridge the grout lines. A stiffer plank helps, but the installation guide still calls for filling the joints on tile,[1] and skipping a step the manufacturer lists is a common way to end up with a warranty claim that goes nowhere. For anyone pricing the bigger picture, our earlier post on what drives flooring installation costs in Tampa covers removal and disposal in more general terms, and the story of a Brandon LVP job that found soft subfloor after the quote shows what happens when the surprise is under the floor instead of on top of it.
What the floor ended up being
The finished floor sits about a quarter inch above the slab, the front door closes over the new threshold without trimming, and the dishwasher slides out the way it always did. The owners spent more than they planned and lost two extra days of their kitchen. A few weeks later the one thing they mentioned was that the slider no longer had a lip to catch on.
Not every tile floor should come out. If yours is flat, glazed ceramic with narrow joints, set tight on the slab, and the doors and appliances have room to spare, floating vinyl plank over it can be a reasonable way to save money and dust. If it is older terracotta, rocks under a straightedge, or has more than a few hollow tiles, the cheaper path tends to move the cost to later. The straightedge and a tap test are what separate those two cases, and they take about twenty minutes. That check is the part of vinyl plank flooring in Tampa, FL that matters most before anyone talks about color or plank width. Floor work also often lands in the same season as other projects, and our home improvement work across Tampa Bay is usually scheduled around it.
If you are weighing options for flooring installation in Tampa, you can reach out here.
Sources
- COREtec Scratchless Installation Instructions, USFloors / Shaw Industries
- Learn About Asbestos, U.S. Environmental Protection Agency
- Protect Your Family from Exposures to Asbestos, U.S. Environmental Protection Agency
- Silica, Crystalline: Overview, Occupational Safety and Health Administration
- Silica, Crystalline: Construction, Occupational Safety and Health Administration
- Florida Thunderstorm Season, National Weather Service Tampa Bay
